What I like most about designing is creative problem solving.
My day job is designing systems that work together to solve some business problem. Typically involving a lot of data, financial systems and a lot of math. These days I’m designing software that allows banks and private credit funds to better manage their portfolio of loans.
Outside of software product design, I’m building things in my shop.
There is an aspect to design that just involves thinking. Up to a point.
Doing the thing is usually just executing the idea (as best you can). 80% thinking, 20% doing. There is also brute force design – when the thinking isn’t getting you anywhere, sometimes it’s best to just force the execution and let it fail. In failing, you’ll learn something new that will refine the idea. There is a parallel to life in general, to wax philosophical, sometimes you just have to jump.
This project took a lot of thinking, and a short time for execution. I put it off for a long time because I just didn’t have a solution.
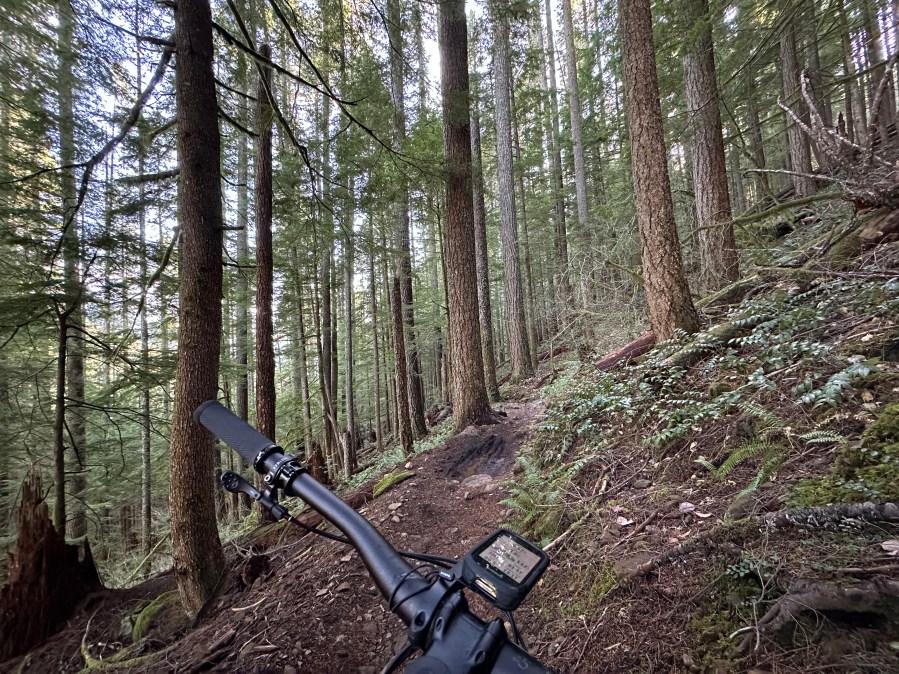
The problem: When I drive up to the mountain in winter in my camper van, I want to be able to see the road when it’s blowing snow in the dark. There are times when I have the factory fog lamps on and I’m leaning over the steering wheel trying to make out any semblance of the road that’s covered in snow and ice. It’s sketchy.
Some constraints to solving this problem:
- how am I going to mount the lights?
- how am I going to control the lights after install?
- how do I get power to the lights?
I decided that I wanted a simple mount for 2 fog lights, 2 LED lights at the hood, and 2 LED lights on the bumper to assist when backing up in the dark. I also didn’t want to install factory switches in the dash. They’re expensive, there isn’t a great way to indicate what the switches are used for (iconography), and they involve a lot of custom wiring. I did install a factory switch to control the Victron Orion DC / DC charger that’s powering the battery bank. It wasn’t necessary to install because the charger senses when it is receiving power from the alternator, but I wanted to further control when the charger was pulling power – if the battery bank is at capacity, I can switch charging off when I’m driving down the road. Very convenient.
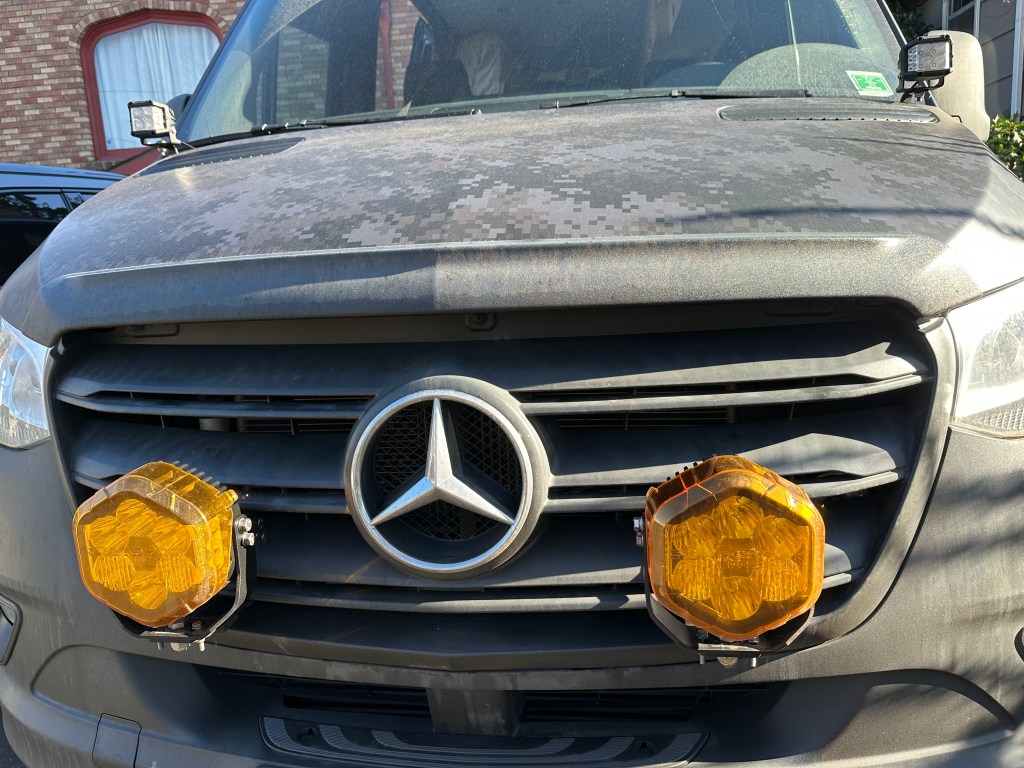
First step was to install a floating light mount from Van Compass. It provides 2 light mounting tabs that extend through the front grill. I had to disassemble the grill for the install. The lights that I chose are from Harbor Freight, 6″ flood lights – comparable to lights from Baja Designs at 3x the cost with an amber cover. (Note: I also bought the wiring harness for the weatherproof plugs, but cut most of the factory harness off and rewired it). The mounting bolt for the light assembly was larger than the light mount tab, so I had to drill a larger hole and seal it with Rust-Oleum paint so the bare metal wouldn’t rust. Maybe the tab hole fits a Baja Designs light, but not the Harbor Freight lights.
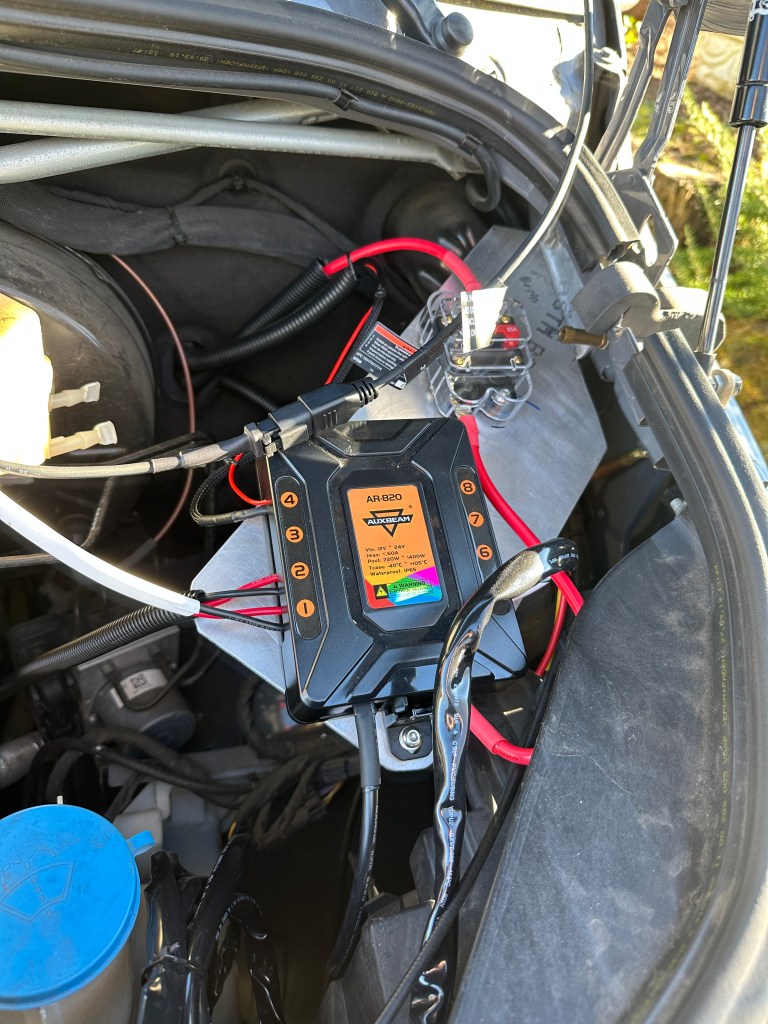
I chose Sprinter ditch mount brackets from CBI Off Road for the hood and 4″ LED lights from Harbor Freight. For the rear bumper lights – 3″ Auxbeam LED lights. All quite straightforward up to this point. However, in deciding not to install factory switches on the dashboard, I needed another solution for powering and controlling the lights. In the past the standard solution was to install a series of relays for each light set and wire those to the vehicle battery. This creates a rats nest of wiring and fuses in the engine bay. A better solution is to install a switch panel that has built-in solid state relays, a fuse block and a separate control panel that can be mapped to the auxiliary system. The control panel is installed inside the vehicle, the switch panel is installed in the engine bay along with a larger 60amp breaker.
This is the part that took the most thinking and fabrication.
I used CAD (cardboard aided design) to design a mounting plate that would fit in the space above the ECU in the engine bay. The problem to solve was where to attach a free floating panel on which to mount the switch. There are 2 options in a VS30 Sprinter:
- The bolts behind the windshield wiper arms. These are the metal bars that pivot to turn the wipers.
- The hood mount bolts on the driver side.
I chose the hood mount bolt locations.
The angle of the panel needed to extend away from the side of the engine bay, yet be mounted in such a way that anything bolted to it would be supported.
My solution: I bought a piece of flat stock aluminum, 24″ long and 8″ wide. Using the cardboard template, I traced the shape that I needed on the aluminum panel including the angle of the bend. I don’t own a metal brake (yet) so I could have either riveted 2 pieces of aluminum together at the correct angle, or somehow bend the aluminum at the correct angle. Some types of aluminum are better for bending – this piece was 1/8″ thick and needed to be heated, or annealed, prior to bending.
Using the bandsaw, I cut the aluminum to the proper shape and while still flat (using the cardboard template) drilled holes on the drill press to match the spacing, angle, and size of the hood hinge bolts.
I drew on the aluminum with a sharpie and then heated it with a torch enabling the metal to soften enough to bend without breaking. A good test is when the sharpie begins to burn off from the torch, the metal is hot enough to bend. I used a bench vise and a 2 lb hammer to persuade the aluminum to bend at the correct angle.
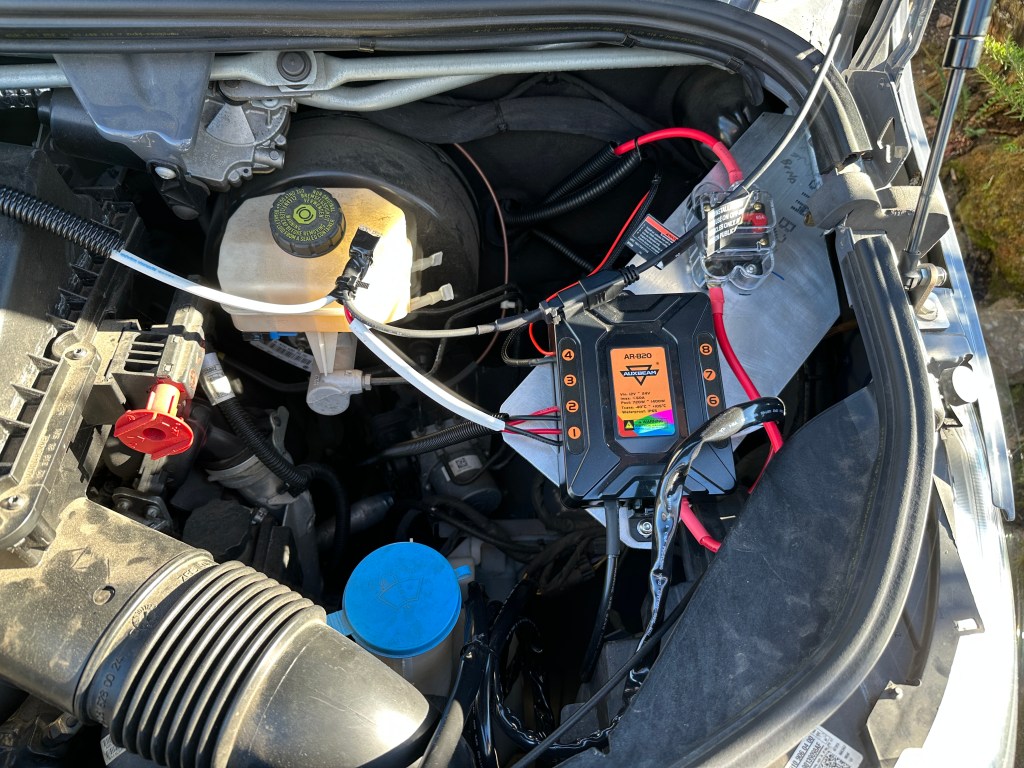
I ran power from the battery (drivers seat floor) through the firewall to the breaker mounted to the panel, and installed the switch by drilling and bolting it to the aluminum panel. The panel isn’t fully supported and can vibrate when driving. All attachments use blue loctite so nothing can vibrate loose. The control panel is wired back through the firewall from the switch and mounted inside the cab where I can reach it while driving. I tapped into the dash USB-C power wire under the cup holders to install a 16g wire to tell the switch to wake up when the ignition is on.
It turned out better than expected. Looks good. Works well. I needed to adjust the hood alignment screw slightly as the hood moved a few millimeters when I removed the bolts to install the mount.
So how does it work?
I’ve used them coming back from Mt Hood Meadows this winter and with no cars approaching from the opposite direction – they turn dark into light.
