
Roofers, drywallers, framers, plumbers, flatwork(concrete), finish carpenters, masons, cabinetmakers, tile setters, electricians. I think that’s it. The trades in order of skills required. I only put electricians at the end because I hate doing electrical work. Mostly from renovating old houses and having to deal with ungrounded wiring, knob and tube, asbestos insulated wiring, etc.. And I would never do a job like replacing an entire panel – too easy to make a mistake and get dead.
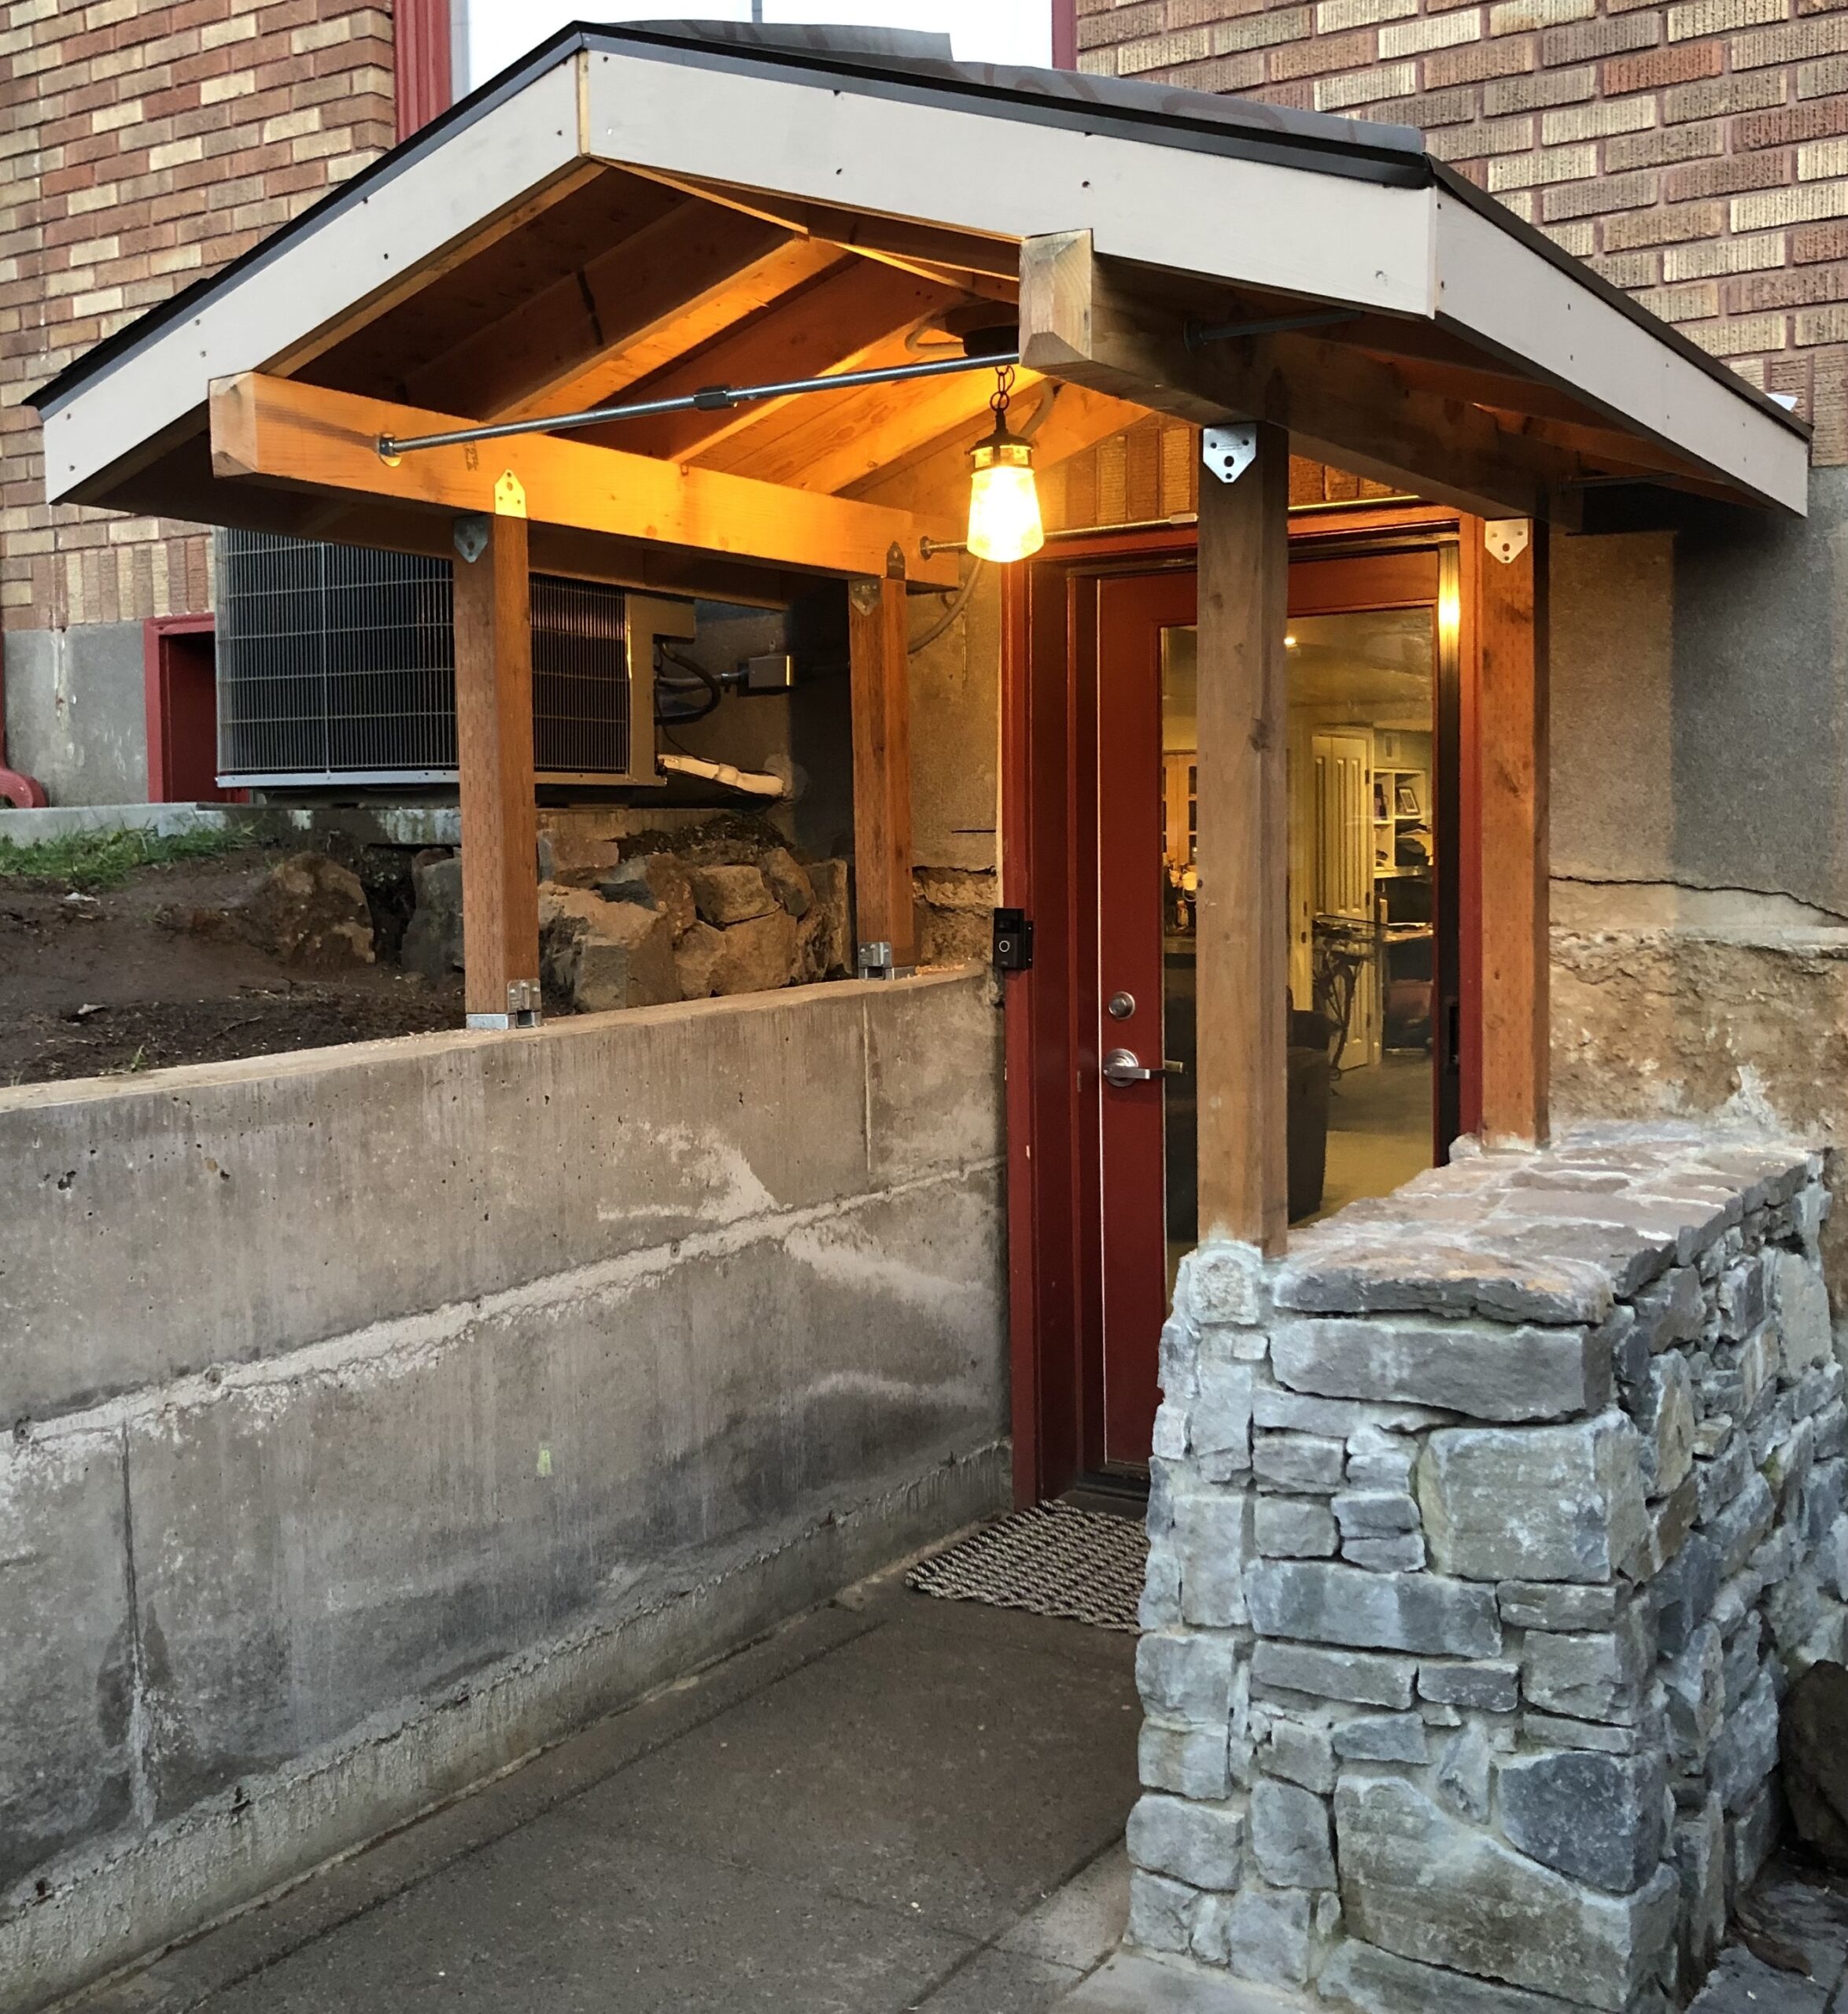
This weekend I roofed the portico. It’s not particularly skilled labor but doing it well takes patience. Much of building and construction is about thinking through final measurements and then subtracting to some starting point. With framing completed I had to install fascia and drip edge before asphalt shingles. As an amateur – I posit it takes 5x longer to do something… and sometimes longer if what you did needs to be undone/redone. Luckily I didn’t have to redo anything except the underlayment. It’s been exposed to rain for the past 5 weeks and some water had gotten onto the plywood. We had sunny, warm weather so I pulled off all the underlayment and let things dry out in the sun while I cut and installed the fascia and drip edge. Once the plywood was dry, I cut 3 new pieces of material and stapled it on before starting to shingle.
I tend to over-engineer when doing rough work (framing) and think measurements need to be more precise than need be. On a 4/12 roof pitch, the rafters are about 17 degrees, but where a vertical fascia board meets roof line, dimensional lumber is a little bit too wide. I made some test cuts and put a 17 degree bevel on the fascia with the track saw so that it would tuck right up below roof line. It fit perfectly, but in the end I realized if I leave a 90 degree edge, the space between the edge of the fascia and roofline will make a nice little 17 degree inside corner and fascia will match the roof perfectly. The bevel is unnecessary.
I rented a coil nailer from the local home depot which made quick work of fixing the shingles. I never run my nail guns on auto (holding the trigger and just pressing the tip shoots the nail), but with roofing, it’s way faster to shoot 5-6 quick nails. It’s the sound of working being done. The nail gun firing and the kick of the compressor. Starting with a half shingle and overlapping the drip edge by 1/4 inch, I put a starting border across the more difficult to access side of the roof. The portico roof is 84 inches long and a shingle is 40 inches long. With the overlap required front and back, 2 shingles won’t cover the roof, so I had to split shingles into 3rd’s in order not to leave short runs.
I roofed one side to the ridge, leaving half a shingle overlapping the ridge beam – I wasn’t sure how I was going to connect to the other side, but would decide once I completed the other side. There is a particular nailing pattern provided on the packaging by the manufacturer. It must be related to wind shear and/or water penetration of the shingle. I followed the nailing pattern for all the shingles and brought the other side up to the ridge line. I was able to wrap one side over the other to create a watertight covering over the ridge and then began to cap the ridge.
Common practice is to begin capping the ridge on the opposite side of the prevailing weather, the establishes an overlap of shingles that prevent high winds from lifting a shingle and pulling the roof off the structure. I think this was the most enjoyable part of the project. I cut 12 inch shingles, measuring as to keep a single flexible surface at 6 inches where the shingle would bend over the ridge line. I finished the last shingle on the west side of the roof, shot in 4 nails (the last 4 are exposed as there are no more shingles to overlap) and then caulked over the nail heads with silicon. I’ll check on the silicon in the spring and reapply or get some roofing tar to keep those nails covered.
That’s how to shingle a portico.
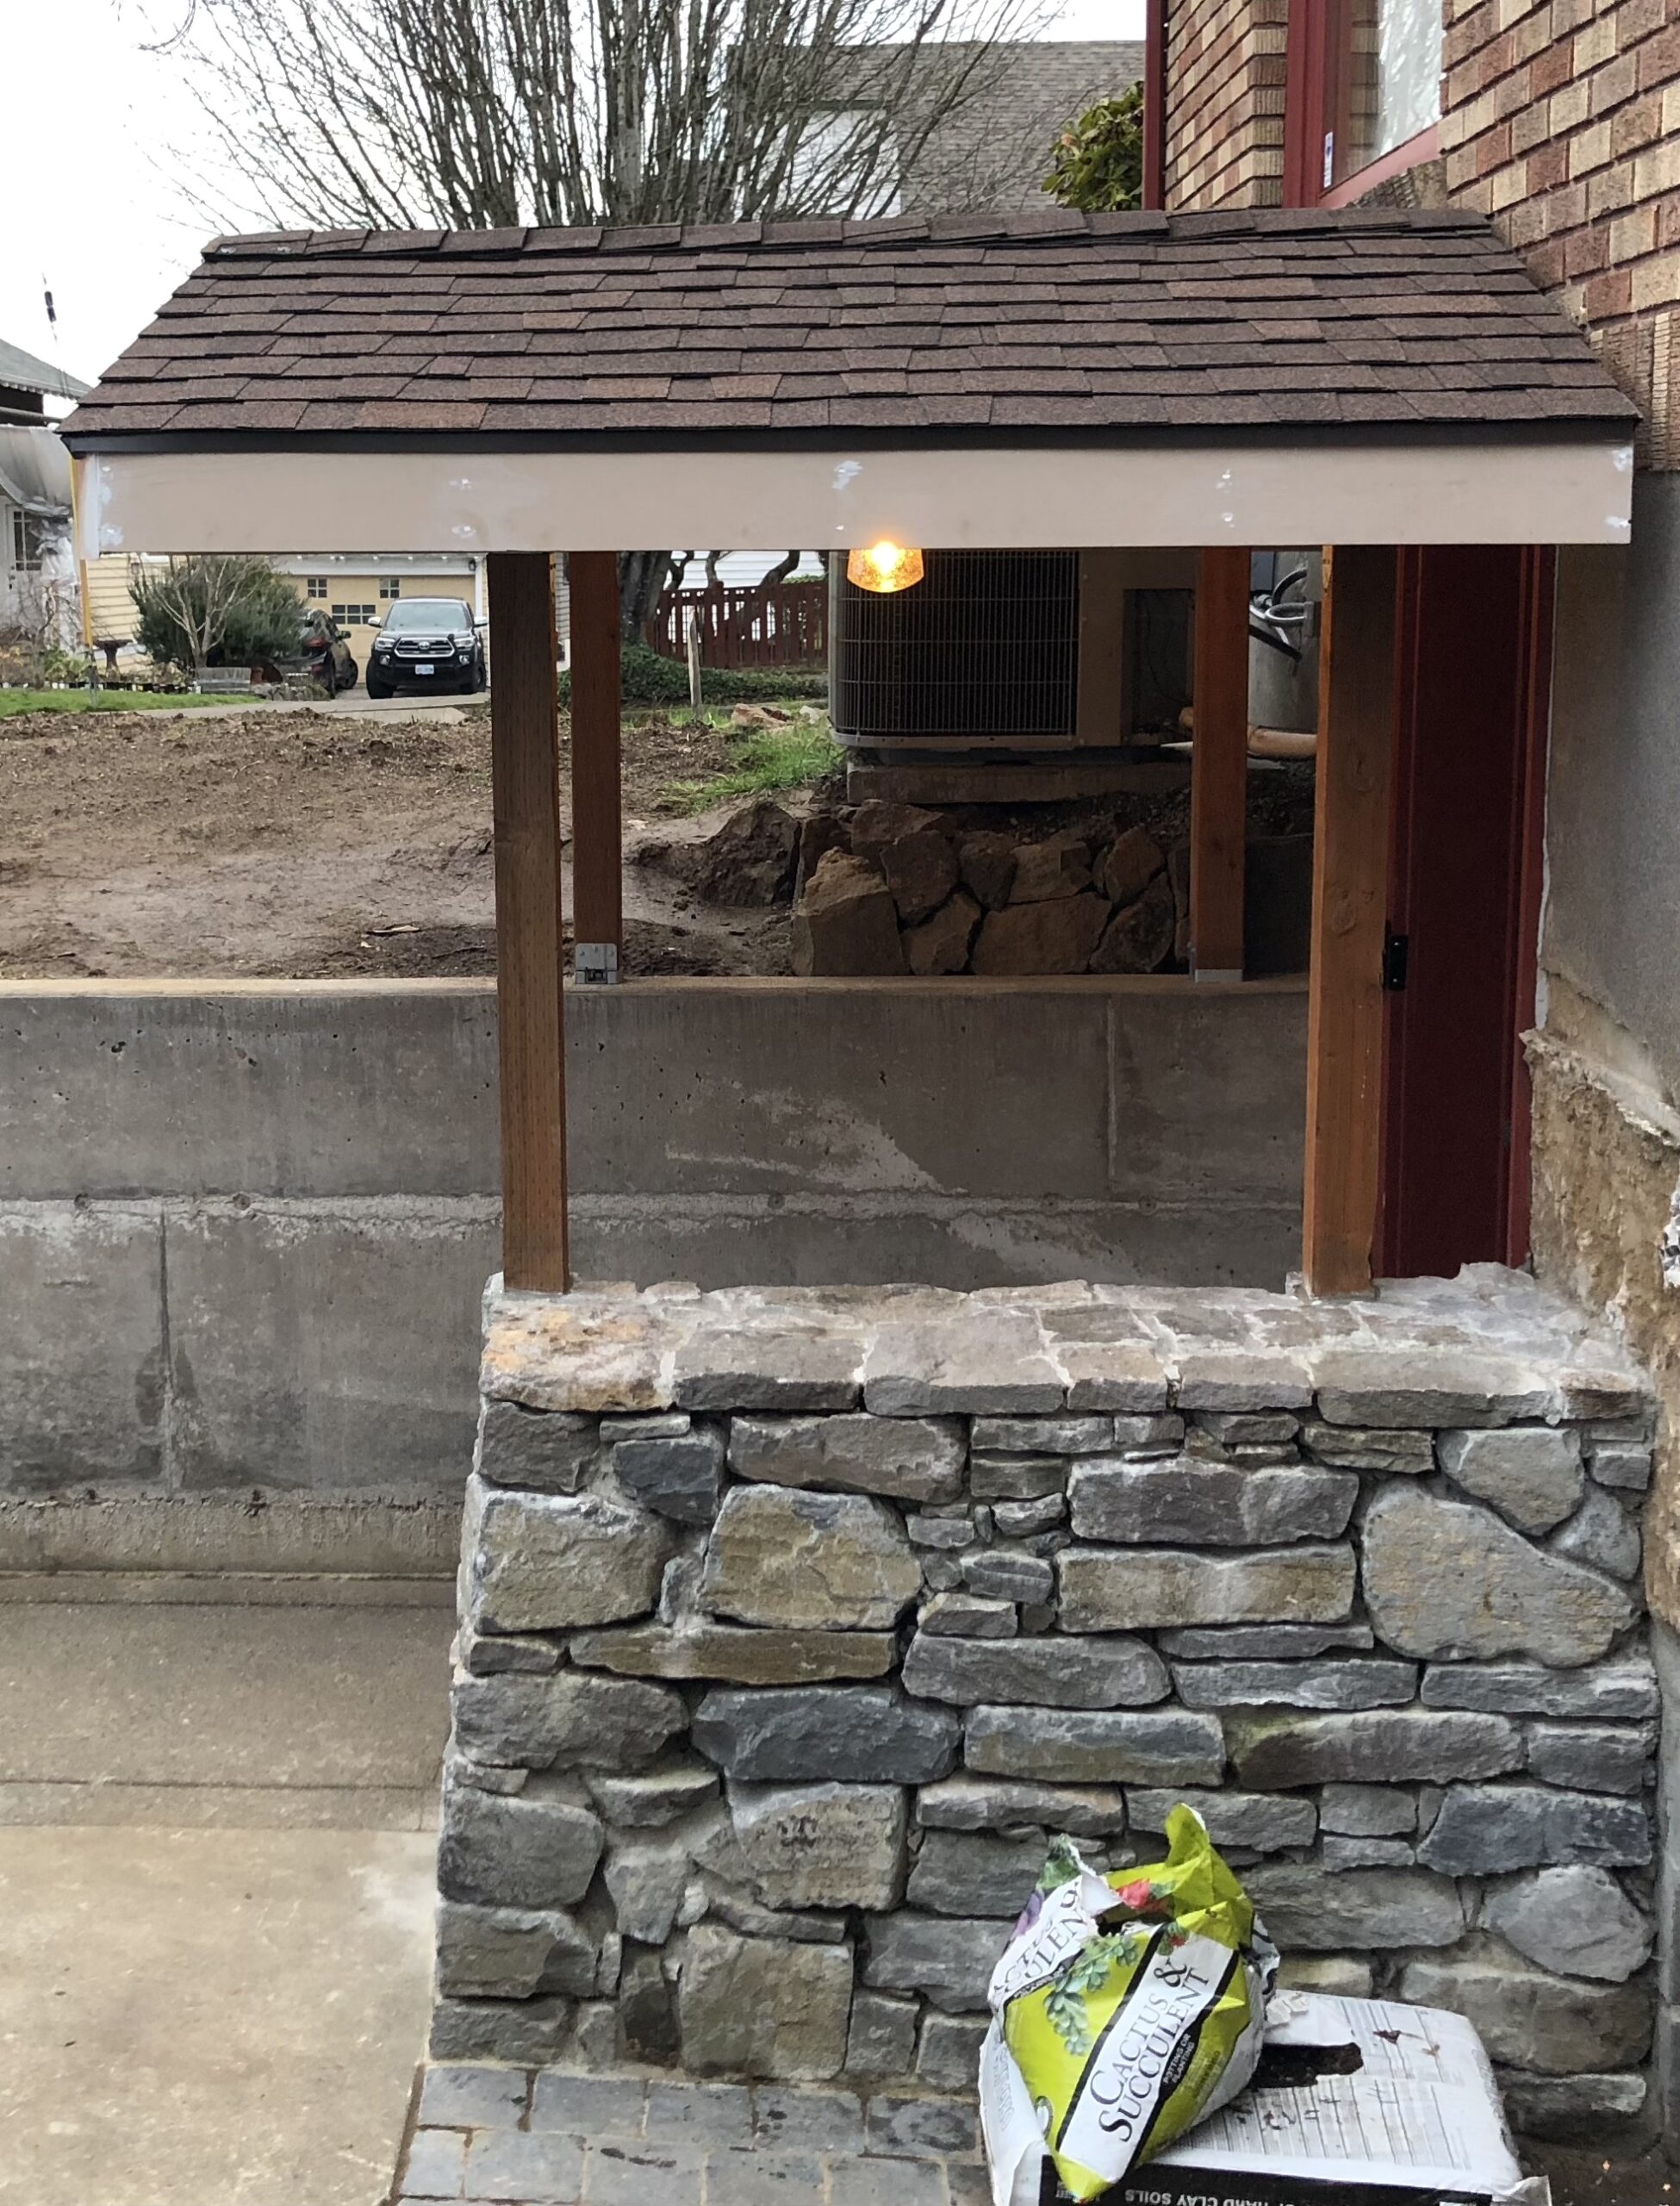
To-do’s:
- wrap the posts in clear cedar
- cedar tongue and groove on the ceiling
- paint the fascia to match the house
- foundation concrete pour (in sections) to repair the foundation wall. I’m looking forward to this because I’m going to try to create a wood pattern with the form.
Leave a Reply